Cooking Basics
Trading that 4-burner stove for a one setting open flame. Good-bye multiple pots and pans and hello one 750 ml pot. Adios to spices and dicing and welcome to boiling water.
Cooking in the backcountry is a different story than any at home cooking. Luckily, we are here to share our tips and tricks with you on how to get started on even the most basic of meals.
The RIght Equipment
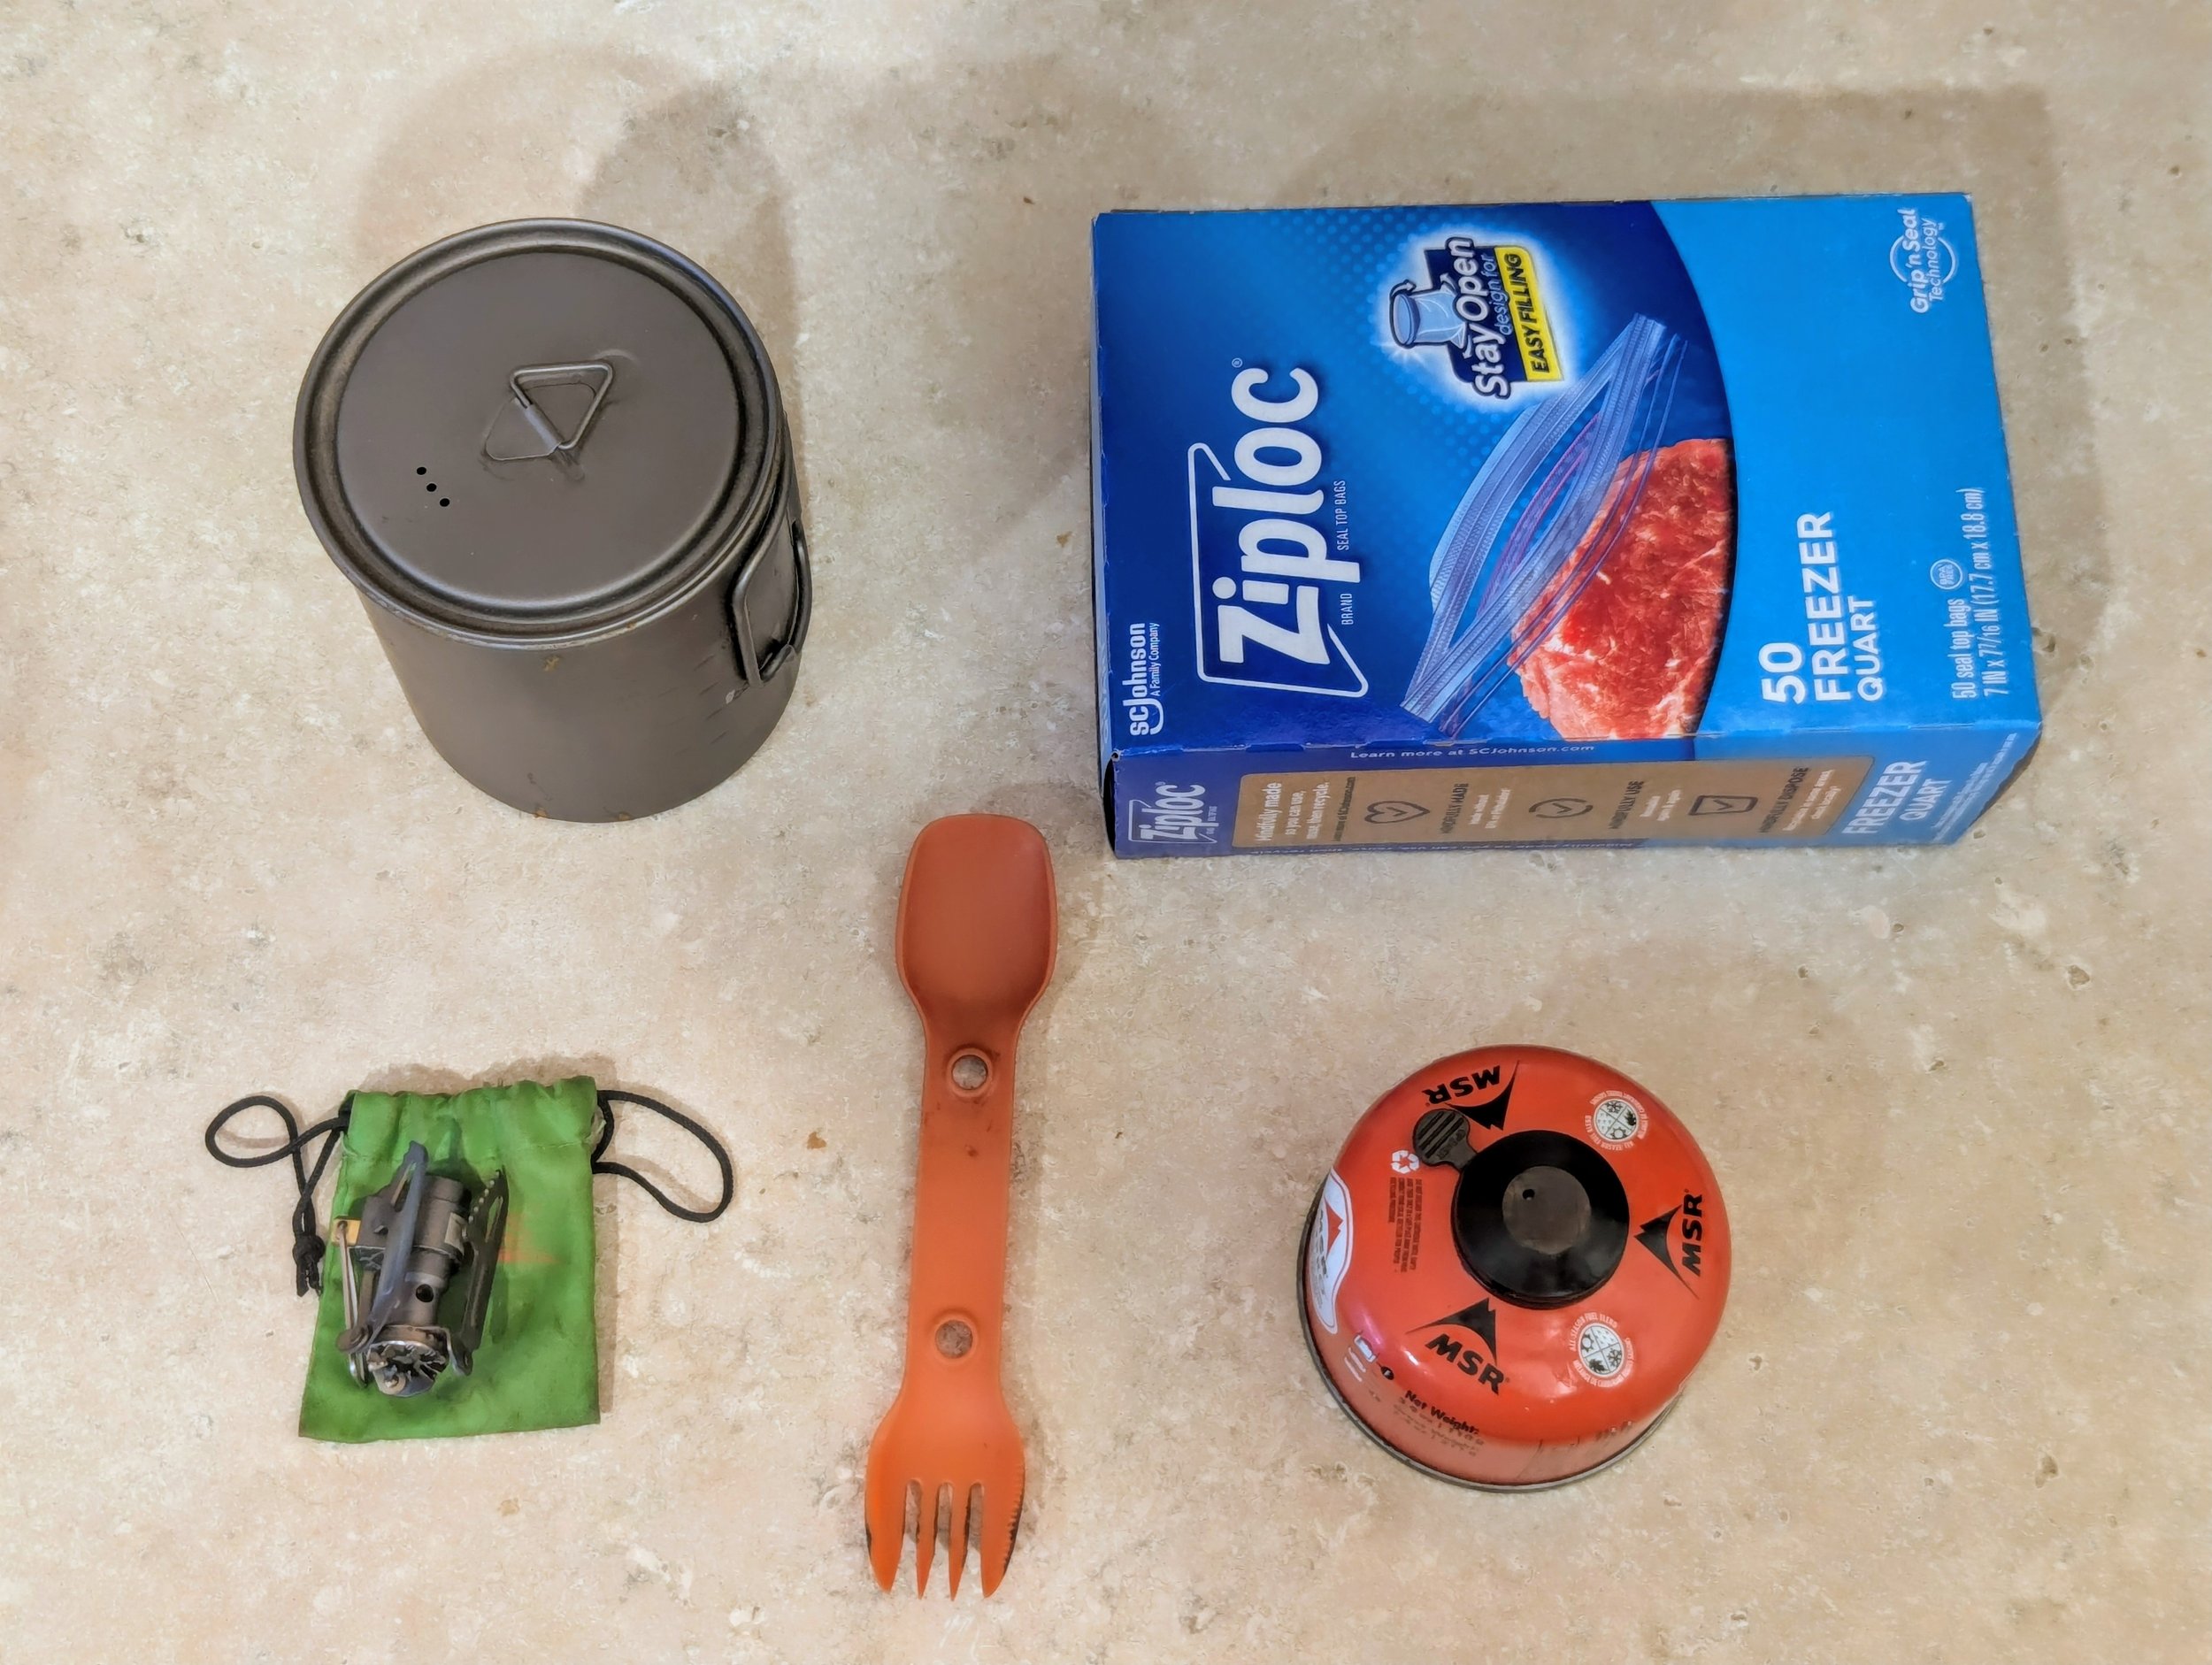
Stove - Prior to backpacking I would never have believed that you could buy stoves this small! Choosing your stove should not be a difficult decision so we recommend not losing sleep over it. Nearly all stoves are created equal in that they boil water, which is all you need it to do. Below are the most popular thru hiking stoves:
JetBoil (~$100 - 150) The most expensive stove but it also includes your pot. The big claim to fame for JetBoil is that it is whole package. You get an insulated pot that connects straight to your stove and the stove comes with a self-lighting feature. *I actually do not recommend a self-lighting stove. They are finicky in cold and at altitude. I have had to loan my lighter to many a self-lighting stove user and normally I can light my stove fast than them.
MSR Pocket Rocket (~$50) A great lightweight stove that is incredibly efficient on fuel. However, I have found the life span to be a bit shorter than desired. I have owned 3 pocket rockets and each have lasted under 5 months (granted 5 months of backpacking).
Amazon special, BSR (~$15-20) Surprisingly these work well and the quality is not terrible. For the price they are lightweight and have lasted entire thru hikes. The biggest drawback is that they are not as fuel efficient as the options above. I did notice a difference in how much fuel I used when I switched from an MSR.
2. Pot - Similar to the stove, you can find article after article about which pot is the best fit. From aluminum to titanium… blah, blah, blah. End of the day, you just need something that you can boil water in. The things that we recommend considering when selecting a pot are not related to brand but functionality:
Size - 750 ml is more than enough unless you are cooking for 2 people. Save yourself the space and weight and stick to this size.
Handles - It will be impossible to move, touch, grab your pot once it has boiling water in it. They do sell pots without handles on them so be careful not to accidently choose one.
Lid - Nothing will make your water boil slower than not having a lid. It will waste fuel and drive you insane while you hungrily wait for your food.
Once you find a pot that meets those three criteria then our recommendation is to buy the cheapest one you can!
The Secret Weapon
The piece of equipment you would not expect - Ziploc bags. Ziploc freezer quart bags to be exact. Brand matters on this one because the Ziploc freezer bags have proven to be the ones that don’t leak!
So what is the secret about this secret weapon? It allows you to only boil in your pot and cook in this plastic, disposable liner.
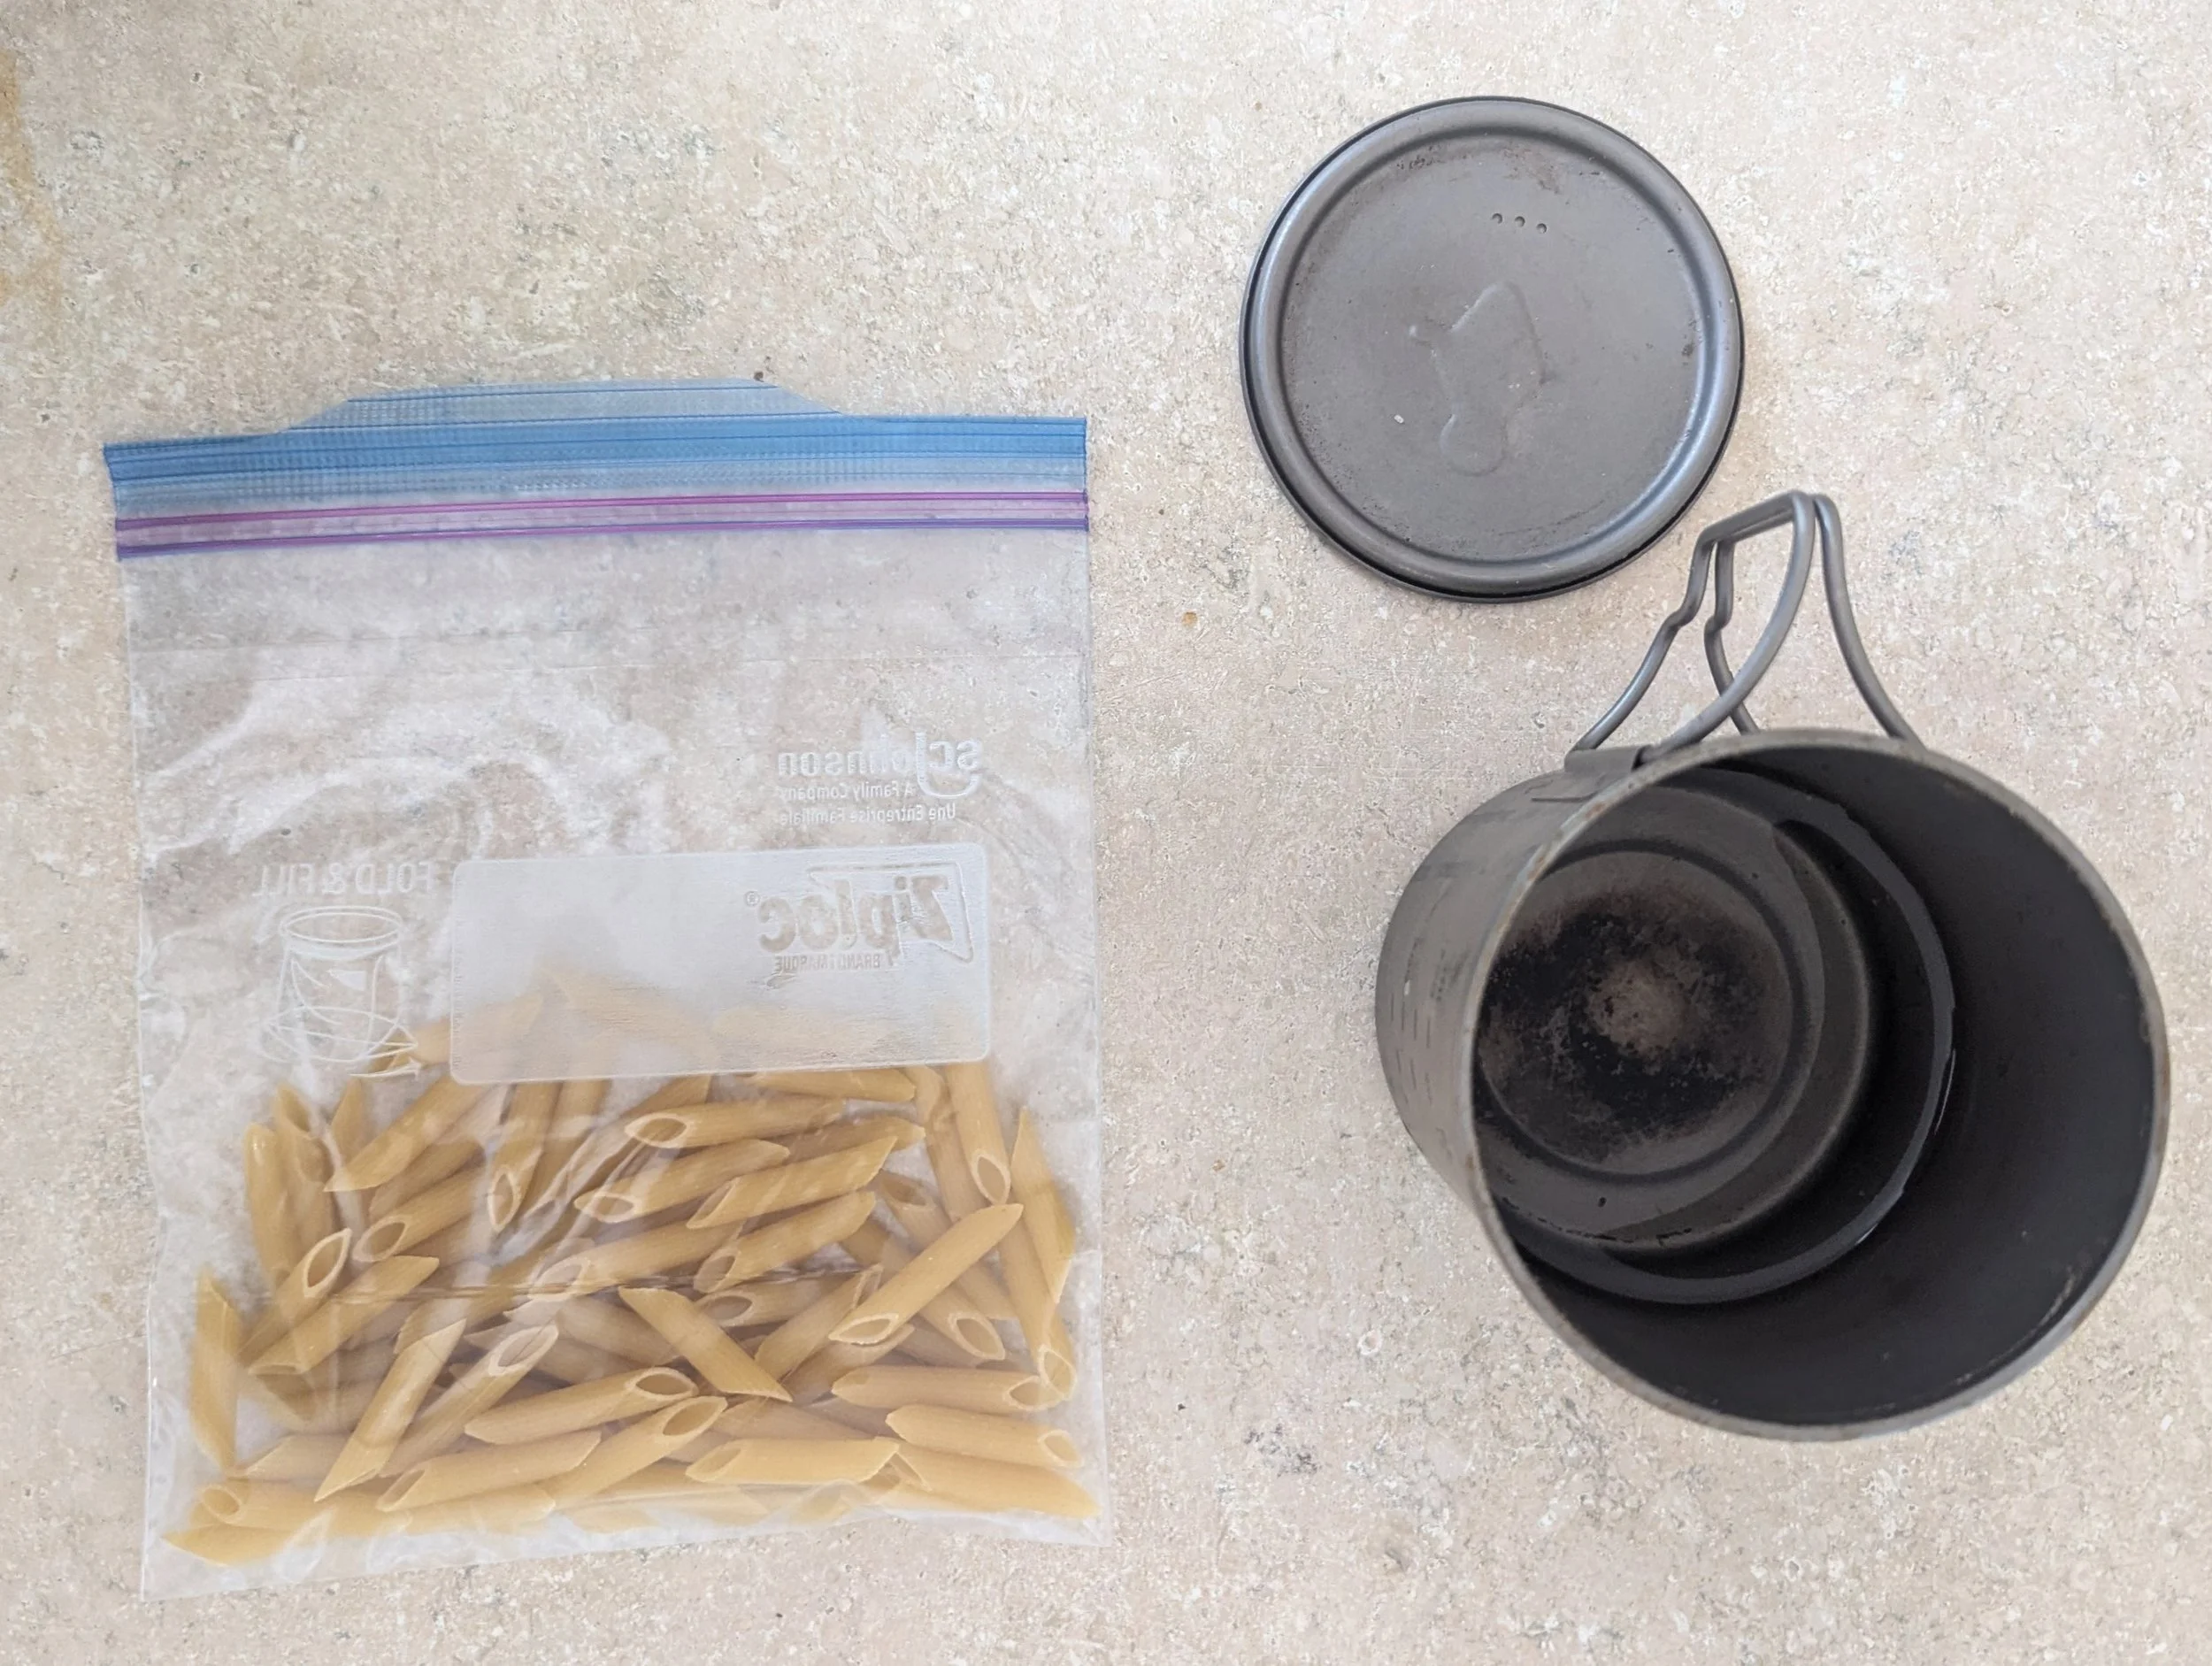
When you are resupplying, repack your food into individual Ziploc bags. Keep any flavoring packets intact - do NOT pour into the Ziploc. At dinner time, boil the water for your meal. Then either add only the noodles to your pot (for mac & cheese or ramen) or pour the boiling water into your Ziploc (for instant potatoes). When the noodles are finished cooking pour the noodles and water back into your Ziploc and now add any flavoring packets.
Tip: I like to put my Ziploc back in my pot to make it easier to eat.